
Angularjs, Web Development
Creating a To-Do List Application Using AngularJS
Jul
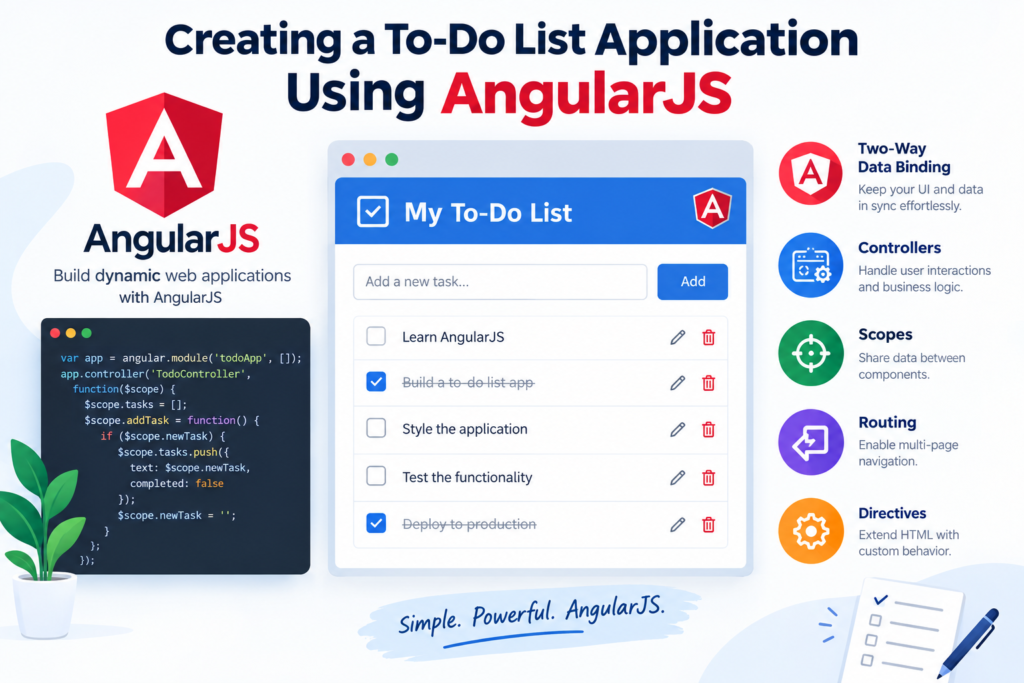
Building a To-Do List application is one of the best ways to learn the fundamentals of AngularJS. Although the application is simple, it introduces several important concepts, including data binding, controllers, directives, event handling, form inputs, and dynamic rendering.
In this tutorial, we’ll build a functional To-Do List application using AngularJS from scratch. By the end, you’ll have a simple task-management application where users can add, complete, and delete tasks.
What Is AngularJS?
AngularJS is a JavaScript framework originally developed by Google for building dynamic web applications. It extends HTML with additional attributes and provides features that make it easier to create interactive applications.
Some important AngularJS concepts include:
- Two-way data binding
- Controllers
- Directives
- Expressions
- Dependency injection
- Form validation
- Dynamic templates
- Event handling
While newer Angular versions use TypeScript and a significantly different architecture, AngularJS remains useful for understanding the foundations of front-end frameworks and maintaining existing applications.
What We Will Build
Our To-Do List application will include the following features:
- Add new tasks
- Display all tasks
- Mark tasks as completed
- Delete tasks
- Show the number of remaining tasks
- Prevent empty tasks from being added
- Dynamically update the interface without refreshing the page
The final application will look something like a simple task manager.
Step 1: Create the HTML File
Start by creating a file called index.html.
We need to include AngularJS in our project. For this example, we’ll use the AngularJS CDN.
<!DOCTYPE html>
<html lang="en" ng-app="todoApp">
<head>
    <meta charset="UTF-8">
    <meta name="viewport" content="width=device-width, initial-scale=1.0">
    <title>AngularJS To-Do List</title>

    <script src="https://ajax.googleapis.com/ajax/libs/angularjs/1.8.2/angular.min.js"></script>
</head>

<body ng-controller="TodoController">

    <div class="todo-container">

        <h1>My To-Do List</h1>

        <form ng-submit="addTask()">
            <input
                type="text"
                ng-model="newTask"
                placeholder="Enter a task"
                required
            >

            <button type="submit">Add Task</button>
        </form>

        <p>
            Remaining Tasks: {{ remainingTasks() }}
        </p>

        <ul>
            <li ng-repeat="task in tasks">

                <input
                    type="checkbox"
                    ng-model="task.completed"
                >

                <span ng-class="{completed: task.completed}">
                    {{ task.title }}
                </span>

                <button ng-click="deleteTask($index)">
                    Delete
                </button>

            </li>
        </ul>

    </div>

    <script src="app.js"></script>

</body>
</html>
There are several AngularJS features in this example. Let’s understand what each one does.
Understanding ng-app
The ng-app directive tells AngularJS which part of the HTML page should be controlled by AngularJS.
<html ng-app="todoApp">
Here, todoApp is the name of our AngularJS application.
Understanding ng-controller
The ng-controller directive connects a section of HTML to an AngularJS controller.
<body ng-controller="TodoController">
The controller will contain the application logic, including adding and deleting tasks.
Step 2: Create the AngularJS Application
Now create a file called app.js.
Add the following code:
var app = angular.module("todoApp", []);

app.controller("TodoController", function($scope) {

    $scope.tasks = [];

    $scope.newTask = "";

    $scope.addTask = function() {

        if ($scope.newTask.trim() === "") {
            return;
        }

        $scope.tasks.push({
            title: $scope.newTask,
            completed: false
        });

        $scope.newTask = "";
    };

    $scope.deleteTask = function(index) {
        $scope.tasks.splice(index, 1);
    };

    $scope.remainingTasks = function() {

        var count = 0;

        angular.forEach($scope.tasks, function(task) {

            if (!task.completed) {
                count++;
            }

        });

        return count;
    };

});
Let’s break this code down.
Creating the AngularJS Module
The first line creates our application module:
var app = angular.module("todoApp", []);
The first parameter is the application name.
The second parameter is an array containing dependencies. Since our application doesn’t require any additional AngularJS modules, the array is empty.
Creating the Controller
Next, we create the controller:
app.controller("TodoController", function($scope) {
The $scope object acts as a bridge between the controller and the HTML view.
Properties and functions attached to $scope can be accessed from the HTML template.
For example:
$scope.newTask = "";
can be accessed using:
{{ newTask }}
Creating the Task Array
We need somewhere to store our tasks:
$scope.tasks = [];
Initially, the array is empty.
When a user adds a task, an object is added to this array.
A task might look like this:
{
    title: "Learn AngularJS",
    completed: false
}
The title property contains the task text, while completed tells us whether the task has been completed.
Adding a New Task
The addTask() function handles new tasks:
$scope.addTask = function() {

    if ($scope.newTask.trim() === "") {
        return;
    }

    $scope.tasks.push({
        title: $scope.newTask,
        completed: false
    });

    $scope.newTask = "";
};
First, we check whether the input is empty.
if ($scope.newTask.trim() === "") {
    return;
}
This prevents users from adding blank tasks.
Then we add a new object to the tasks array:
$scope.tasks.push({
    title: $scope.newTask,
    completed: false
});
Finally, we clear the input field:
$scope.newTask = "";
Using Two-Way Data Binding
One of AngularJS’s most useful features is two-way data binding.
We use the ng-model directive:
<input
    type="text"
    ng-model="newTask"
>
When the user enters text, AngularJS automatically updates $scope.newTask.
Likewise, if $scope.newTask changes in the controller, AngularJS can update the input field.
This eliminates much of the manual DOM manipulation normally required with JavaScript.
Displaying Tasks with ng-repeat
To display every task, we use:
<li ng-repeat="task in tasks">
The ng-repeat directive loops through the tasks array and creates an HTML element for every task.
For example, if we have:
$scope.tasks = [
    {
        title: "Learn AngularJS",
        completed: false
    },
    {
        title: "Build a project",
        completed: false
    }
];
AngularJS will generate two list items.
Inside the loop, we can access the current task using:
{{ task.title }}
Marking Tasks as Completed
We use a checkbox to allow users to mark tasks as complete:
<input
    type="checkbox"
    ng-model="task.completed"
>
Because ng-model provides two-way binding, checking the checkbox automatically changes:
task.completed
from false to true.
Unchecking it changes the value back to false.
Styling Completed Tasks
We can visually distinguish completed tasks using ng-class:
<span ng-class="{completed: task.completed}">
    {{ task.title }}
</span>
If task.completed is true, AngularJS applies the completed CSS class.
Add the following CSS to your page:
body {
    font-family: Arial, sans-serif;
    background: #f4f4f4;
}

.todo-container {
    width: 500px;
    max-width: 90%;
    margin: 50px auto;
    padding: 25px;
    background: #ffffff;
    border-radius: 8px;
}

input[type="text"] {
    width: 65%;
    padding: 10px;
}

button {
    padding: 10px 15px;
    cursor: pointer;
}

ul {
    padding: 0;
    list-style: none;
}

li {
    display: flex;
    align-items: center;
    gap: 10px;
    padding: 12px 0;
    border-bottom: 1px solid #ddd;
}

.completed {
    text-decoration: line-through;
    opacity: 0.6;
}
Now completed tasks will appear crossed out.
Deleting a Task
The delete button uses the ng-click directive:
<button ng-click="deleteTask($index)">
    Delete
</button>
$index represents the position of the current item in the array.
Our controller handles deletion:
$scope.deleteTask = function(index) {
    $scope.tasks.splice(index, 1);
};
The splice() method removes the task from the array.
Because AngularJS monitors the data model, the interface automatically updates.
Counting Remaining Tasks
It is useful to show users how many tasks are still incomplete.
Our HTML contains:
<p>
    Remaining Tasks: {{ remainingTasks() }}
</p>
The controller contains:
$scope.remainingTasks = function() {

    var count = 0;

    angular.forEach($scope.tasks, function(task) {

        if (!task.completed) {
            count++;
        }

    });

    return count;
};
The function loops through all tasks and increments the counter whenever a task hasn’t been completed.
Using ng-submit
Instead of attaching a click event directly to the Add button, we use:
<form ng-submit="addTask()">
This allows the user to submit the form by either clicking the button or pressing Enter.
It also keeps the form behavior organized within AngularJS.
Complete Application
At this point, we have a working AngularJS To-Do List application.
The basic workflow is:
User enters task
        ↓
ng-model stores the value
        ↓
User submits the form
        ↓
addTask() is called
        ↓
Task is added to the array
        ↓
ng-repeat updates the list
        ↓
User can complete or delete the task
This demonstrates one of the major advantages of AngularJS: changes to the application’s data are automatically reflected in the user interface.
Improving the Application
Our basic application works, but it can be expanded with several useful features.
1. Local Storage
Currently, tasks disappear when the browser is refreshed.
You can use browser local storage to persist tasks:
localStorage.setItem(
    "tasks",
    angular.toJson($scope.tasks)
);
And retrieve them when the application starts:
$scope.tasks = angular.fromJson(
    localStorage.getItem("tasks")
) || [];
For a production application, you may want to wrap storage operations in a dedicated service.
2. Edit Tasks
Add an edit button so users can modify existing tasks.
For example:
<button ng-click="editTask($index)">
    Edit
</button>
You could then create an editTask() function in the controller.
3. Clear Completed Tasks
Another useful feature is a button that removes all completed tasks.
$scope.clearCompleted = function() {

    $scope.tasks = $scope.tasks.filter(function(task) {
        return !task.completed;
    });

};
4. Task Filtering
AngularJS’s filtering capabilities can be used to display active or completed tasks.
For example:
<li ng-repeat="task in tasks | filter:{completed:false}">
    {{ task.title }}
</li>
This displays only incomplete tasks.
5. Add Due Dates
A task object can be extended:
{
    title: "Complete project",
    completed: false,
    dueDate: "2026-09-20"
}
The application could then display tasks based on their due dates.
Separating HTML, CSS, and JavaScript
For a larger project, avoid placing everything inside a single HTML file.
A simple project structure could be:
todo-app/
│
├── index.html
├── css/
│   └── style.css
│
└── js/
    └── app.js
This makes the project easier to maintain and extend.
Important AngularJS Concepts Learned
By building this project, you’ve used several fundamental AngularJS concepts.
ng-app
Initializes an AngularJS application.
ng-controller
Connects HTML to controller logic.
ng-model
Creates two-way data binding.
ng-repeat
Loops through collections and dynamically generates HTML.
ng-click
Handles click events.
ng-submit
Handles form submission.
ng-class
Dynamically applies CSS classes.
$scope
Provides data and functions to the view.
Expressions
AngularJS expressions such as:
{{ task.title }}
allow application data to be displayed directly in HTML.
Why Build a To-Do List with AngularJS?
A To-Do List may appear to be a small project, but it covers many of the fundamental concepts required to build interactive AngularJS applications.
It teaches you how to:
- Create an AngularJS application
- Build controllers
- Manage application data
- Handle forms
- Use two-way data binding
- Respond to user events
- Dynamically generate HTML
- Manipulate arrays
- Apply conditional styling
- Create reusable application logic
Once you understand these concepts, you can move toward more advanced AngularJS projects such as dashboards, inventory systems, customer-management applications, booking systems, and real-time interfaces.
Conclusion
Creating a To-Do List application is an excellent beginner project for learning AngularJS. Despite its simplicity, it introduces the core concepts needed to create dynamic web applications.
Our application uses an AngularJS controller to manage tasks, ng-model for two-way data binding, ng-repeat to display tasks, and AngularJS event directives to handle user interactions.
You can further enhance the project by adding local storage, task editing, filtering, due dates, categories, authentication, or a backend API.
Although AngularJS is now a legacy framework and new projects generally use modern frameworks and libraries, understanding AngularJS remains valuable when working with existing applications that still rely on it.
